
Using a Yubikey for GPG and SSH
It's been a long time since my last blogpost, but I'm back with a post about how to use your Yubikey 4 for GPG and SSH keys.
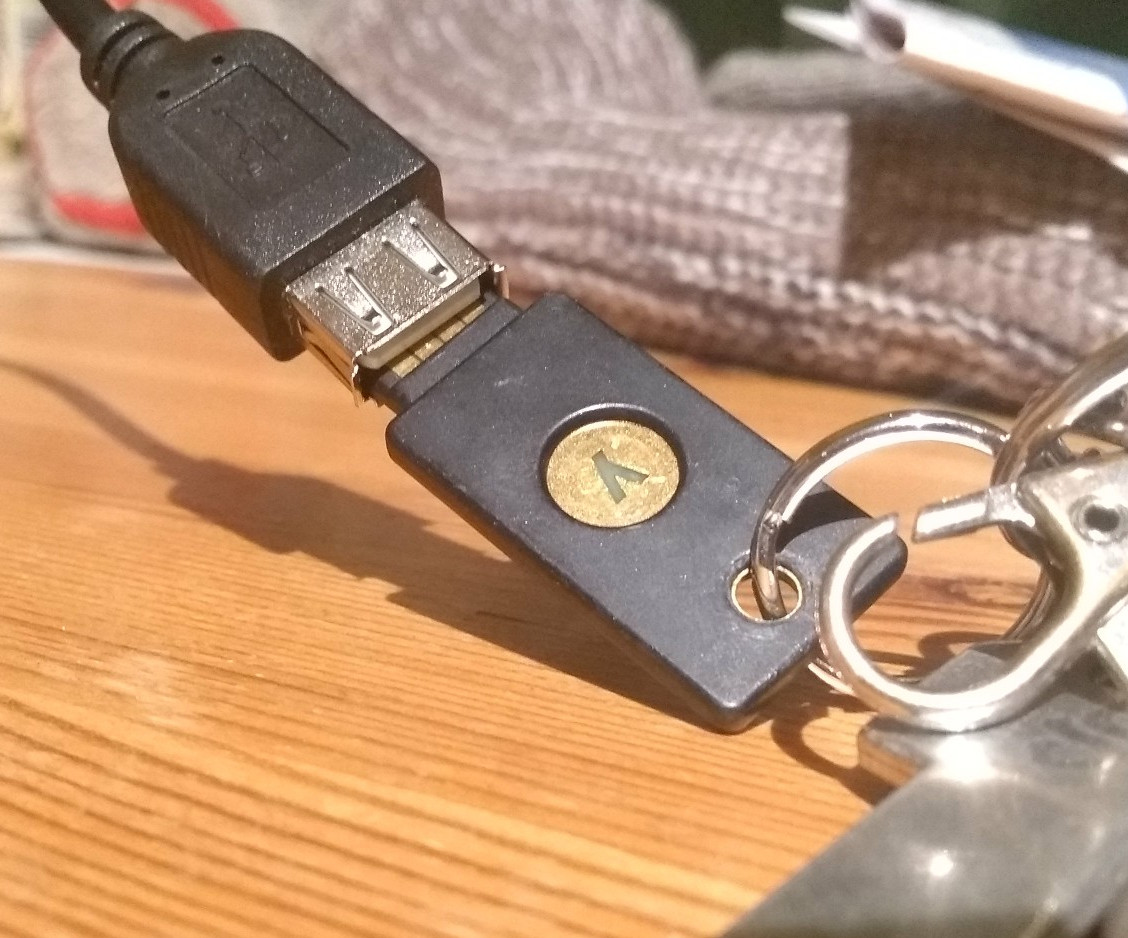
What is a Yubikey?
The rather small Yubikeys are sold by Yubico and I obtained two as part of a student offer last year. You can find a detailed product description on their website.
My goal was to use them as two-factor devices, because I do not like the mobile- or tan-based two-factor authentication approach. The reasoning behind this is, that while travelling through certain countries, receiving text messages can cost up to multiple euros and one does not travel with his tan list...
A small piece of hardware that I can attach to my key ring should solve the problems in my opinion :) However, it turned out, that a Yubikey can also be used as a GPG smartcard, which in turn can be used to authenticate against SSH servers. Fancy! ;)
There are several good tutorials that helped with my setup and you should read them and/or google a bit. Especially this one has some invaluable comments and hints, that you shouldn't miss! Simply because this won't be a detailed step-by-step guide!
GPG Keys
A Yubikey can act as a GPG smartcard allowing us to safely store our private GPG keys on it. I won't go into detail on how to create GPG keys, but I will assume that you have a masterkey and three subkeys:
- One for signing [S] (e.g. Emails)
- One for encryption [E] (e.g. Emails)
- One for authentication [A] (e.g. SSH)
Plug your Yubikey into a free USB port and make sure that gpg --card-status shows it:
$> gpg --card-status
[...]
Version ..........: 2.1
Manufacturer .....: Yubico
[...]
Edit your GPG key you want to store on the Yubikey with gpg --edit-key AAAABBBB. Use the keytocard command to send the private keys to the Yubikey. Note that this step is destructive and it will delete the private keys from your computer! Make sure to have a backup of your master keys!
If that step succeeded, the gpg --card-status command should show the different subkeys in the overview:
$> gpg --card-status | grep key

URL of public key : [...]
Signature key ....: [...] XXXX YYYY
Encryption key....: [...] ZZZZ VVVV
Authentication key: [...] AAAA BBBB
General key info..: sub  rsa4096/QQQQQQ <foobar@domain.tld>
To check if everything works as intended, we can create an encrypted message and decrypt it:
$> echo "Hello World" > /tmp/message.txt
$> gpg --encrypt  --output /tmp/message.txt.enc -r contact@0day.work /tmp/message.txt
$> gpg --decrypt /tmp/message.txt.enc
gpg: verschlüsselt mit 4096-Bit RSA Schlüssel, ID XXXXXX, erzeugt 2017-12-07
      "Sebastian Neef <contact@0day.work>"
Hello World
Do not forget to set the PINs for the admin/non-admin commands of gpg --card-edit!
SSH Keys
The SSH key is derived from the private key on your Yubikey. If you haven't followed the steps of the previous section, you should definitely do so.
First, make sure that the Yubikey is plugged into an USB port and it has an authentication key stored.
$> gpg --card-status

Reader ...........: 1050:0407:0006481979:0
Application ID ...: D2760001XXXX....
Version ..........: 2.1
Manufacturer .....: Yubico
Serial number ....: XXXX
[...]
Authentication key: [....] AAAA BBBB
      created ....: 2017-12-07 14:53:26
[...]
You can then export your SSH public key using the following command:
$> gpg --export-ssh-key 0xAAAABBBB
ssh-rsa AAAAB3Nza[...]openpgp:0xAAAABBBB
Upload this public key to your servers or wherever you need to authenticate with the SSH key.
To use the key, you have to configure the GPG agent to enable SSH support and act as a SSH agent:
echo 'enable-ssh-support' >> ~/.gnupg/gpg-agent.conf
Stop and restart all runnig GPG/SSH agents:
killall gpg-agent
killall ssh-agent
gpg-agent --daemon
Furthermore, we need to unset the SSH_AUTH_SOCK, so add the following lines into your ~/.bashrc:
export SSH_AGENT_PID=""
export SSH_AUTH_SOCK=$(gpgconf --list-dirs agent-ssh-socket)
With your Yubikey still plugged in, you should see your SSH key when running the ssh-add command:
$>  ssh-add -l
4096 SHA256:XXXX cardno:0006064XXXX (RSA)
That's all! SSH will now use the SSH key from your Yubikey, so don't forget to plug it in, before running ssh server.
-=-